last version: 23/04/2024
02. Setup a development environment
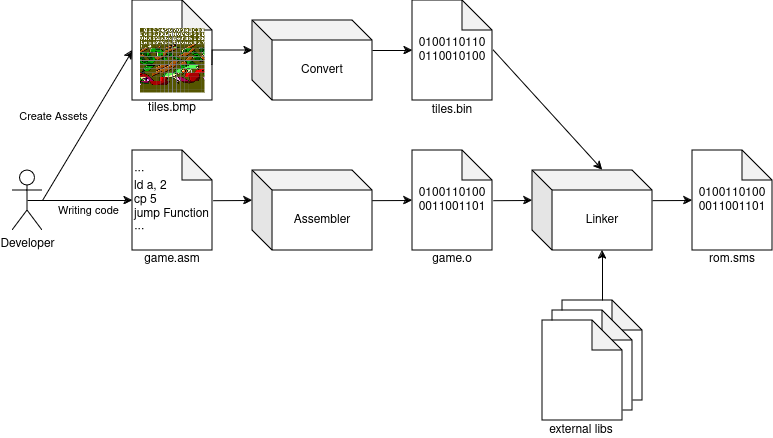
The goal here, is to set up a complete environment for producing code that runs on the console. Our software/game is made up of several parts:
- A source code, written using an IDE, which is in charge of all the logic.
- External assets such as sprites, tiles, musics, sounds, which are created from external softwares and converted in a way that we can interract with in our code.
- External code or functions that handle parts we don't want to program ourself.
There are two ways to write code that can run on Sega Master System (from what I know):
- Writing code in assembly.
- Writing code in C language.
There is no good answers on which one to choose.
C language tends to be less scary but I think is just as difficult to learn for a neophyte than assembly language. Especially on this type of hardware.
Writing code in assembly does not guarantee better performance than C. It can even be the other way around.
Today's compilers are good enough to produce optimized machine code that can be difficult to write in assembly if we don't know the Sega Master System's hardware very well.
Oh, and if you want to learn more about code optimization, there's the well-known book: Zen of Code Optimization by Michael Abrash. It's a little bit old, but the first chapters are quite instructive on the way of thinking about code optimization.
As Maxim's tutorial is in assembly, I keept this language and will be the one I will shared in these articles.
But, if you want to do it in C language, please check devkitSMS.
About the OS
I'm not going to cover this part specifically, I don't think it's the subject of this tutorial. I consider that you have an updated OS, with enough rights to install software.
Personally, I use every day Ubuntu as my main Operating System. So, this tutorial will be exclusively for Ubuntu. But it can be done on Windows too. For that, you can check Maxim's tutorial.
Install requirements
Before proceeding, you need to install the following packages:
- git.
- C compiler.
- CMake.
- Java compatible Runtime.
Run the next command: sudo apt install git gcc cmake default-jre
By default, our working directory will be the user's home directory.
Install assembler WLA-DX
WLA-DX is a bundle of tools that can convert and link our files that contains instructions, into a machine code that the Z80 CPU can execute. It can support various types of architecture:
- Z80 for Sega Master System.
- 6502 for NES system.
- 65816 for SNES system.
- many more.
The website, to download the latest version, is here.
The next instructions are from the official WLA-DX Compiling chapter:
$ cd $HOME
$ git clone https://github.com/vhelin/wla-dx
$ cd wla-dx
$ mkdir build && cd build
$ cmake ..
$ cmake --cuild . --config Release
$ sudo cmake -P cmake_install.cmake
Choosing an IDE
You can choose any soft you want: VSCodium, SublimeText, Vim, EMAC.
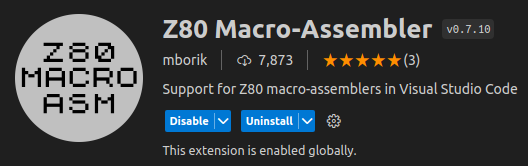
At least, it's nice to choose one with an extensions for Z80 ASM language, like:
Testing our code
When developing a game, it's important to have a set of tools that help us to analyze its behavior. Back then, there were physical devices to handle this part that you needed to buy directly from Sega and it was very expensive. See this blog about Developement Kit Hardware
At the time, there was no other option (except developing your own Development Kit), but today we have emulators that are accurate enough (we will see what accuracy means later).
One of them is Emulicous, an emulator that handle many systems. But more important, it's provides additional features and tools for our needs:
- Debugger.
- Profiler.
- Memory editor.
- Tile, Sprite and sound viewer.
- many more.
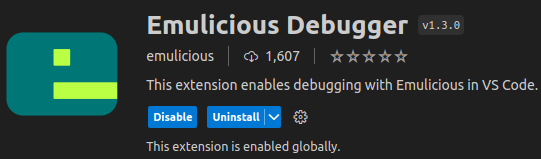
Bonus: Emulicious has an extension for VSCodium.
Another solution is to run your code, on real hardware, using a special cartridge like an everdrive.
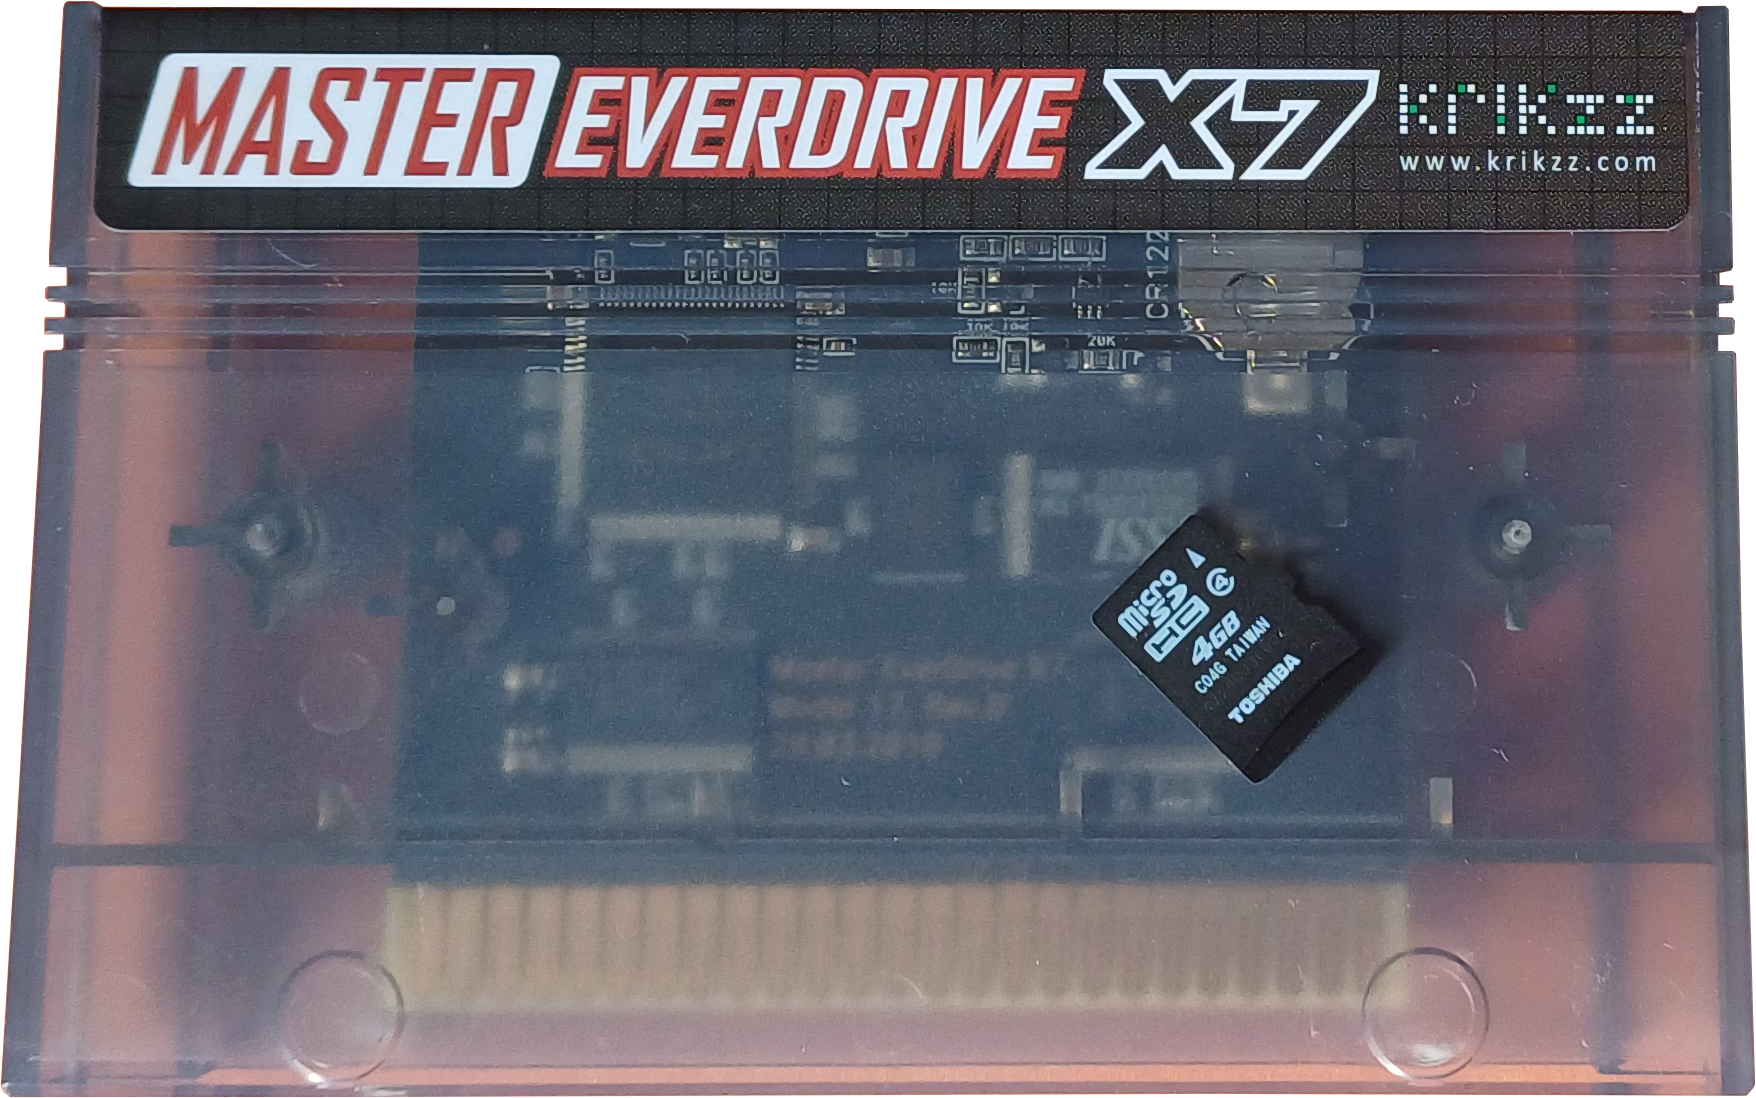
The shop Krikzz sell this kind of device. This is not a sponsored link at all, it's just a device that I use myself and that I know it works. But, it's still very expensive, even for a hobit.
And last but not least, you can build your own card, like from the raphnet.net blog.
At the end, an emulator is all you need.
Folders structure
So, after installing all softwares, an IDE, and packages, I've chosen to organize my directories as follows:
$ ls -lhF $HOME
$
$ Emulicious/ # Folder that contains Emulicious.jar
$ wla-dx/ # Folder that contains wla-dx source files.
$ my_project/ # Folder that will contains our code and assets.
The architecture of our project directory is also important. I've chosen to structure it as follows:
$ ls -lhF $HOME/my_project/

$ assets/ # Folder that contains all our assets source files (like png, asprite, etc.).
$ bin/ # Folder that will contains our binary file (rom) that will be executed by Emulicious.
$ build/ # Folder that contains all temporary files used by wla-dx to assemble and generate our binary file.
$ src/ # Folder that contains all source files needed to generate our binary file.
bin/ and build/ can be missing by default. These folders will be created when we first assemble our code.